There’s a reason certain things have, in Darwinian fashion, managed to survive in the face of so-called “advances” in technology. Even though you can get amazing musical replication from a synthesizer, for example, true aficionados would claim it can’t replace a Steinway or a Stradivarius.
In the kitchen, nothing cooks quite like cast iron. Stainless steel, aluminum, copper, they all have their places and superior attributes for certain tasks. But for three things, in certain situations, I always turn to cast iron.
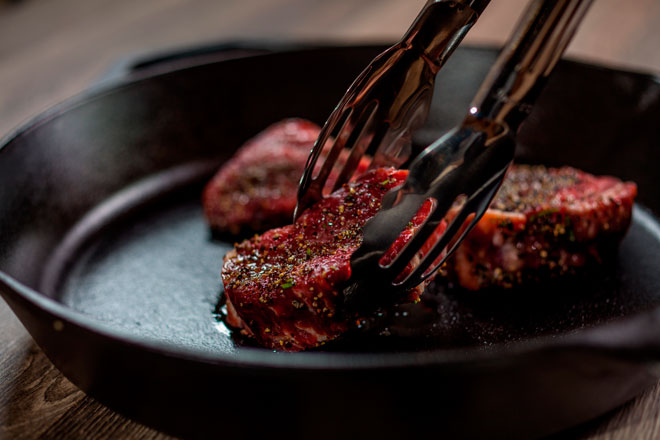
To Sear
Searing is a funny thing. The reason most of us think about why we do it is actually quite wrong.
We’re often told that searing meat causes it to retain juices. According to none other than renowned food scientist Harold McGee, meat is actually slightly more likely to lose moisture when seared first. What? (Check out McGee’s book here).
Yup. Seems that when we sear, we are exposing meat to higher temperatures (typically higher than 350 degrees Fahrenheit), which destroys more cells and releases more liquid.
So why sear? There are three very good reasons.
First, for flavor. Browning meat creates carmelization, which tastes good. Secondly, for texture. The difference between crunchy, chewy exterior meat versus softer, tender interior meat is interesting to our palate.
And lastly, because goshdarnit, browned meat looks nice.
All the above can be said for other, non-meat products, too, which brings us back to cast iron.
Iron’s ability to consistently retain heat across the pan means that whatever’s being cooked in it will be evenly and beautifully cooked.
To sear, bring the pan to temperature over medium heat on an appropriately sized burner. Ensure the pan is fully heated before you begin cooking. Cast iron can take a long time to heat up or cool down, so you want it right before you begin, since it can be difficult to adjust quickly.
I typically sear “dry,” with no fat, to get that crispy, browned surface. (Note: a well-seasoned cast-iron skillet is essentially a non-stick pan once it has been well seasoned by baking with a light coating of oil. Click here for instructions from our friends at Cook’s Illustrated.)
Dry the food well with a paper towel, especially scallops. And remember to use a potholder or dry dish towel on the handle, since it heats up, too. As a safety measure when I’m done with a cast-iron pan, I leave a dishtowel or potholder draped over the handle (away from any hot burners) as a reminder NOT to touch it.
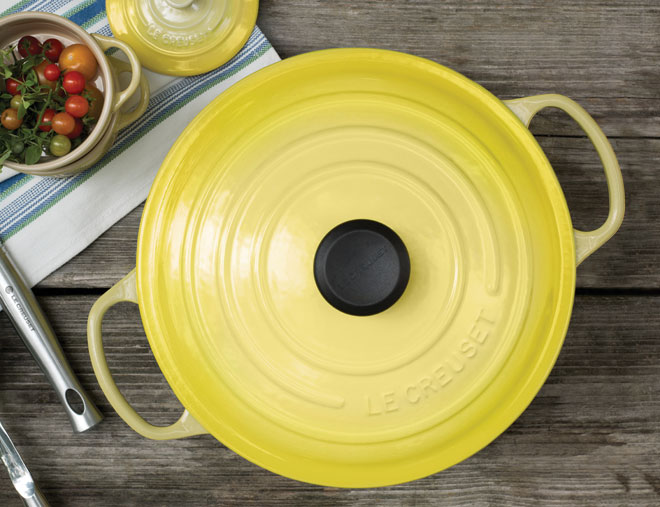
A Le Creuset enameled cast iron pot. Image credit: Le Creuset.
To Braise
Braising involves first searing to develop color and flavor, then cooking “low and slow” in a liquid like stock or wine. This method is ideal for cooking tough meats— cuts like roast, brisket or round, as it helps break down the tough, connective tissue.
I go to my enameled cast-iron cookware for stews and hearty dishes like Boeuf Bourguignon (Julia Child’s recipe is my go-to.)
While traditional cast-iron Dutch ovens can obviously withstand the soak of cooking liquids for hours at a time, I prefer to use the enameled for long, wet cooking for one basic reason: Aesthetics. The enameled cast iron (think Le Creuset, Staub and Lodge) hold heat, go from stovetop to oven to serving, look terrific in their myriad colors and are a cinch to clean.
To Bake
Cornbread, Pineapple-Upside Cake and Tarte Tatin. These comfort-food desserts simply don’t taste as good cooked in a traditional cake pan. Trust me on this. It’s that carmelization thing, which is even more pronounced with sugar.
Baking in cast-iron produces a beautiful browning and sugar-y thickening that makes a big difference between just delicious and decadent.
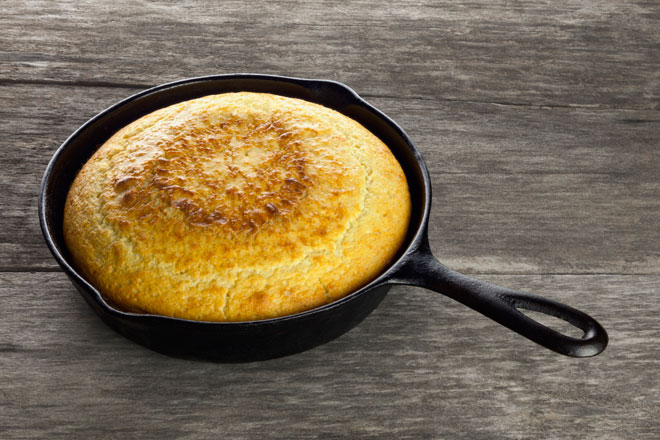
For cornbread, by pre-heating the skillet, you ensure a rich, brown crust all around the cornbread. The caramelization on the cake and tart is stunning, thanks to the consistent heat. And there’s something decidedly Old World about hoisting that skillet around to flip the dessert out. Those cooks of yester-year were tough.
This Skillet Chocolate Chip Cookie Recipe (adapted from Martha Stewart’s Everyday Food) is a perfect example of how to use a cast-iron pan to turn out a delightful dessert. (And because I never remember to take butter out of the refrigerator in time for it to warm to the right temperature, I’ve included my own food-processor technique using cold butter.)
Skillet Chocolate Chip Cookie
Ingredients:
6 T. unsalted butter, cold
1/3 c. packed brown sugar (light or dark, depending on your taste)
½ c. granulated sugar
1 large egg
1 t. vanilla extract
1 c. all-purpose flour (spooned into a measuring cup and leveled off)
½ t. baking soda
½ t. salt
1 c. chocolate chips (milk, dark, bittersweet, whatever you prefer)
1 c. unsalted nuts, toasted and chopped roughly (I use walnuts; whatever nuts you use, keep the pieces kind of large, so you can really bite into them in the finished cookie).
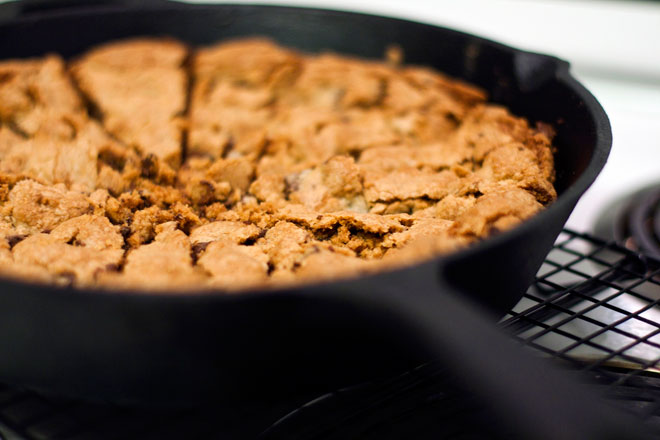
A completed Skillet Chocolate Chip Cookie. Image credit: Sam Klein.
Instructions:
- Pre-heat the oven to 350 degrees Fahrenheit. Have at the ready a 10-inch cast-iron skillet (un-greased, of course).
- Using a food processor, combine butter and sugars until well blended. (If you’d prefer to do this by hand, the butter will need to be at room temperature.)
- Add egg and vanilla and blend until well mixed.
- Sprinkle flour, baking soda and salt evenly on top and blend until combined.
- Spread the chocolate chips and nuts in the cast-iron skillet.
- Scrape the batter into the skillet and spread it evenly around the pan with a rubber spatula. The chips and nuts will get mixed in just fine. Smooth the top.
- Bake until the cookie is golden brown on top and just set in the center, 18-20 minutes. The residual heat from the pan will continue cooking while you let it cool in the pan for 5 minutes.
- Cut into wedges and serve with ice cream for a delectable cookie sundae. A glass of milk goes pretty well with it, too.
 |
 |
 |
| Milk & Honey | The Duo | Peter Rabbit |
Laura Grimmer is a professional cook and sommelier who lives to eat, drink and provide sustenance. She came late to the culinary world, selling her PR firm and enrolling at the French Culinary Institute because of a borderline fixation on master chef Jacques Pépin. She left cooking school a classically trained chef with a deeply seated appreciation for tradition in the kitchen. www.perfectpairnyc.com

